Archduke John's Austrian forces joined with the Hungarian Insurrection forces (militia) at Raab. He intended to cross to the north bank of the Danube and move northwest through Bratislava (Pressburg) to unite with the main army, which was commanded by his brother Archduke Charles, Generalissimo of the Austrian armies. Napoleon ordered Eugène to pursue and destroy John's army. The Franco-Italian troops caught up with the Austrians in mid-June and forced John to give battle.
Though John's 35,000-man army was only a little less numerous than Eugène's 40,000 soldiers, the quality of his soldiers was markedly inferior. Many thousands of the Habsburg troops were poorly trained Austrian landwehr (19,000 men) and Hungarian insurrection militia (16,000 men). The archduke knew this and planned to fight a defensive battle in a strong position.
Scenario Link.
Setup
The Austrians drew up their army behind the Pándzsa stream, facing generally west. The Raab River protected the Austrian's right flank and the marshy banks of the Páncza the left flank. The enclosed and stoutly-built Kis-Megyer farm stood on the east bank of the Páncza. Just behind Kis-Megyer farm rose Szabadhegy hill. On the hill's north side lay Szabadhegy hamlet.
All the Austrian troops start deployed behind the Pancza while the French have a reserve off-table.
I haven't any Italian units so I have substituted Bavarians for them in this battle.
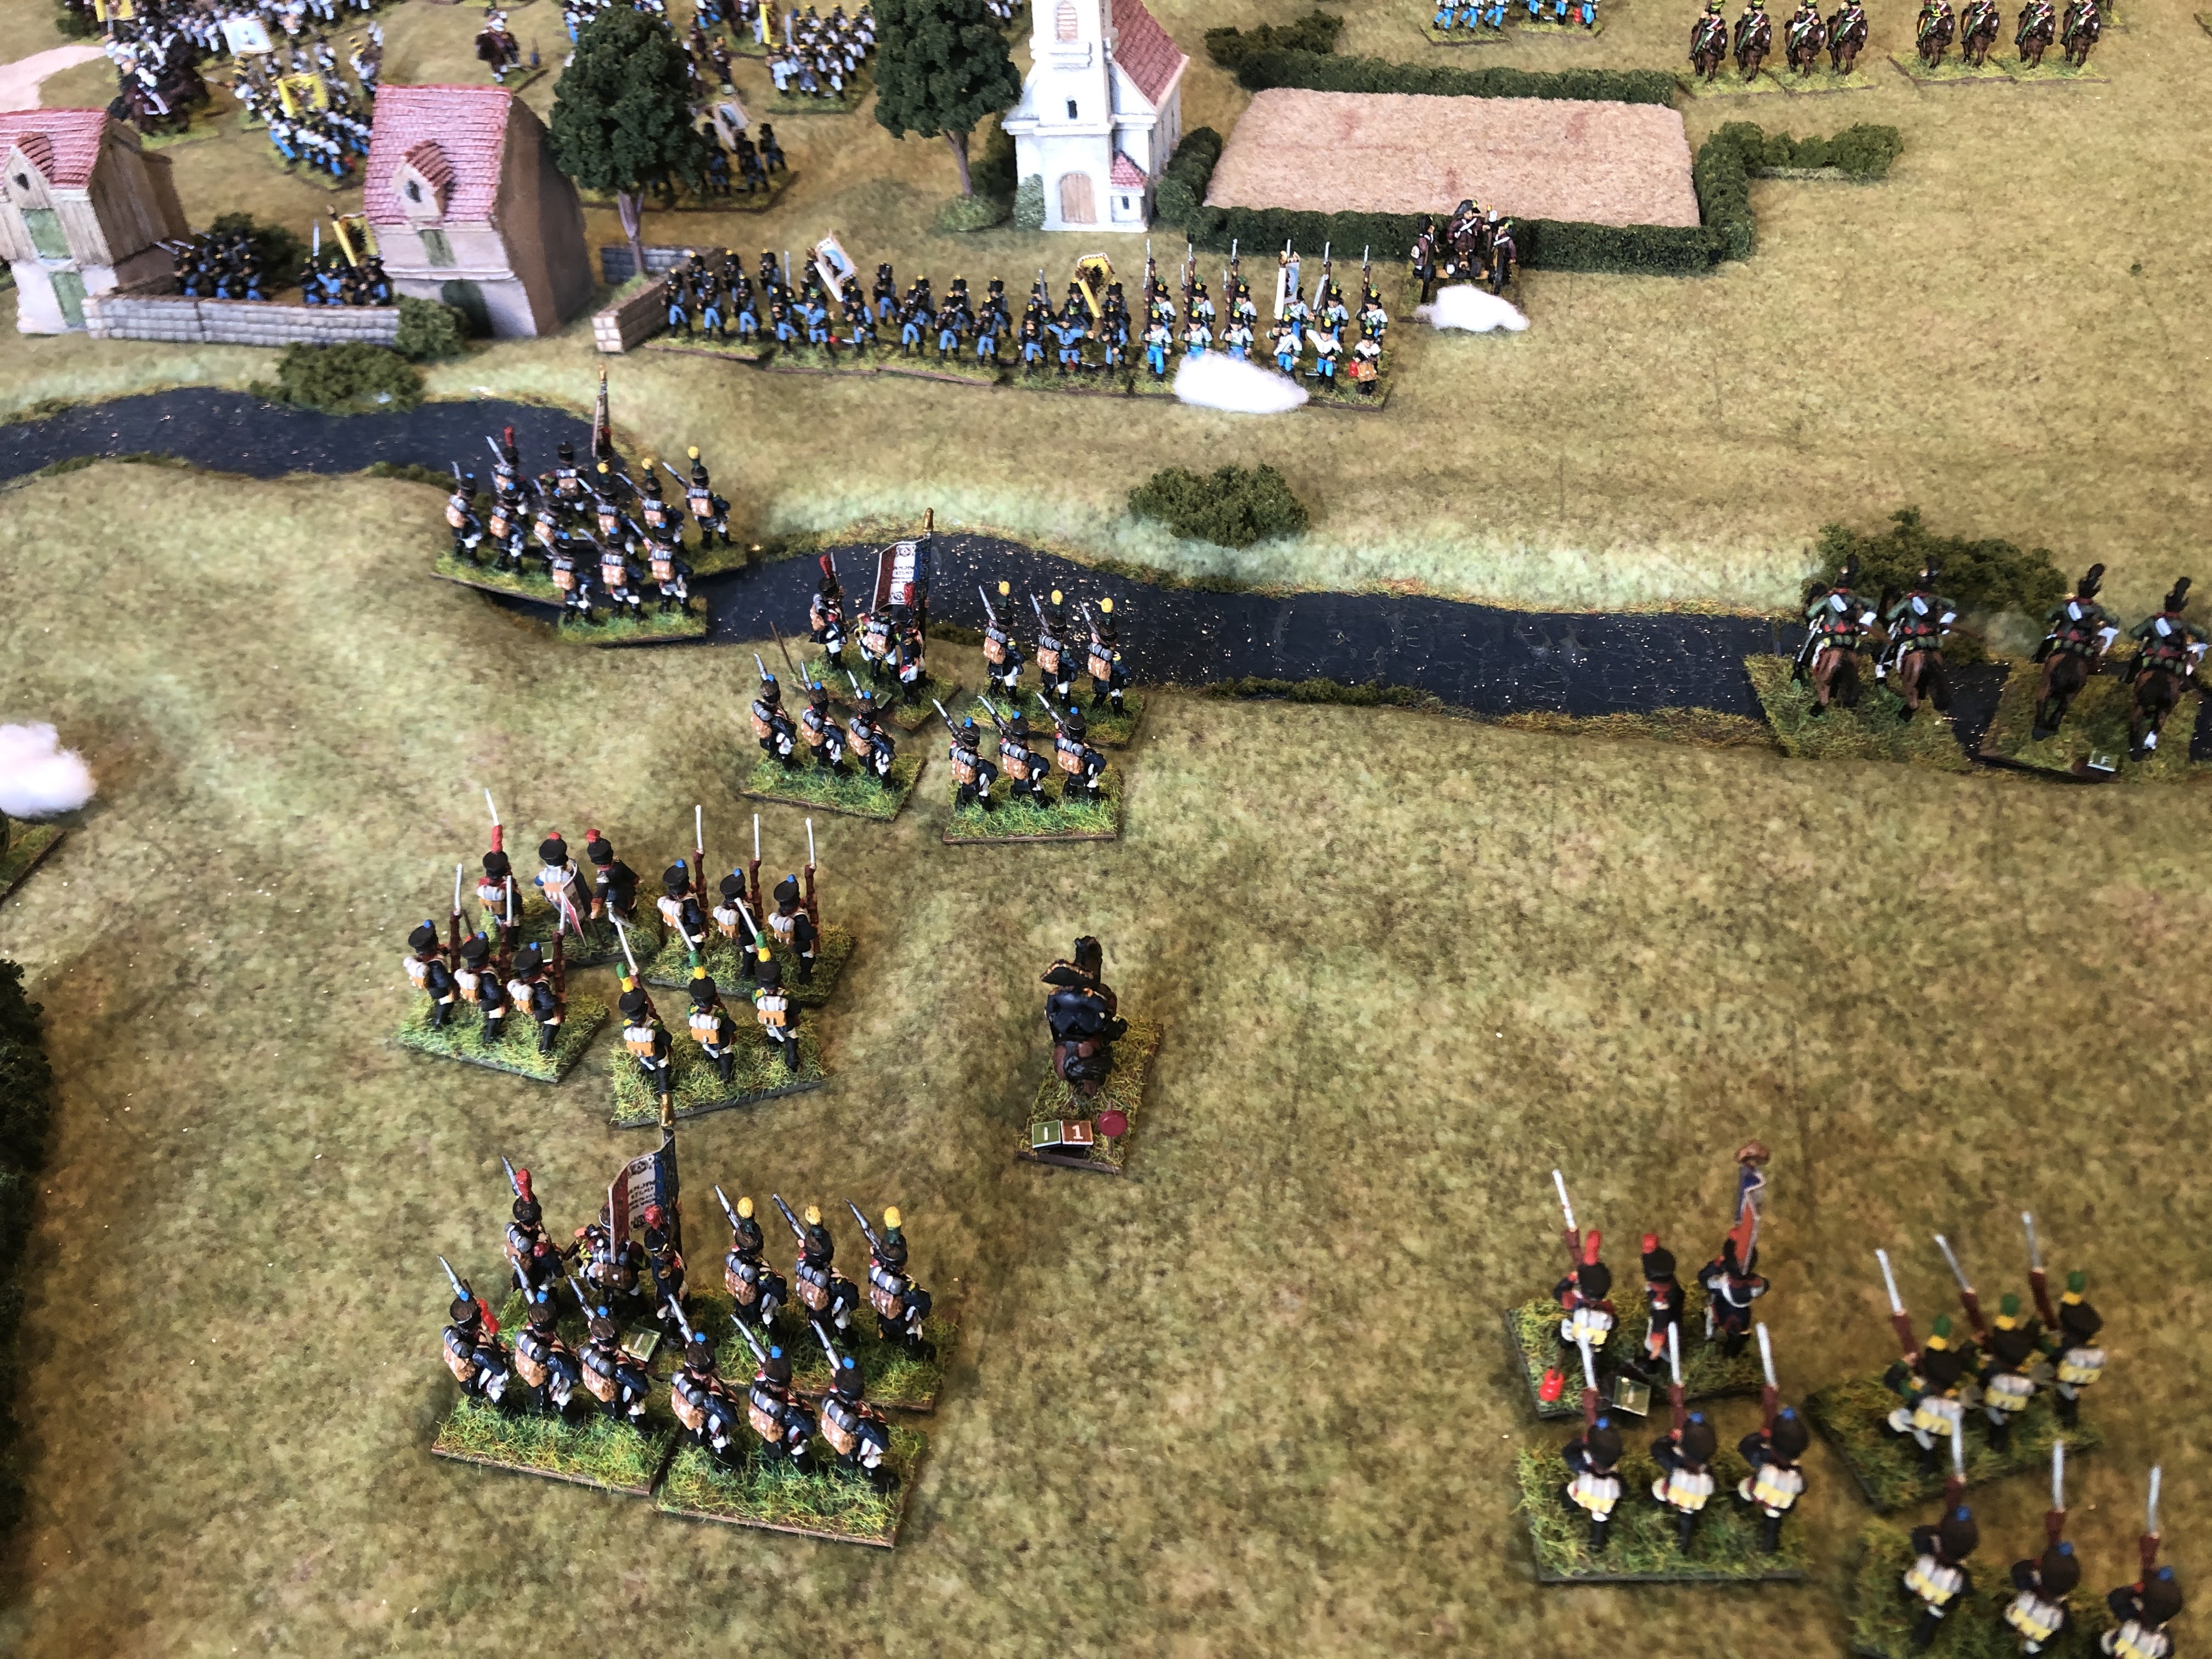
Closeup of the Austrian centre with the reserve on the high ground behind Kis-Megyer farm.
Turn 1
Grouchy's Cavalry Corps advances en-mass on the Austrian left flank. Mescery moves a regiment forward to block the bridge.
The French 1st and 2nd Divisions get excellent command rolls and rapidly advance against the Austrian centre defending Kis-Megyer Farm behind the Pancza Stream. Austrian artillery opens fire and scores a single hit.
The Italian (sub-Bavarian) Division advances more cautiously against the Austrian right flank.
Turn 2
The Italian light cavalry ford the stream on the Austrian right flank. The rest of the Division advances slowly.
In the centre a French brigade surges forward to cross the bridge, taking the Austrian defense by surprise. Another French brigade attempts to ford the stream on the left as a French artillery battery deploys opposite Kis-Megyer Farm.
The first contact occurs on the Austrian left flank as French Chasseurs charge over the bridge and are counter-charged by the Austrian Insurrection cavalry. The Austrian irregulars are pushed back suffering a hit.
A wave of French light cavalry ford the stream as the Austrian cavalry moves up to catch them while unformed.
Turn 3
The slow French advance continues on the Austrian right flank. The Austrian artillery opens fire ineffectually as the French come into range.
The Austrian centre suffers a command paralysis. A French brigade takes the bridge and deploys to attack the open flank of the stunned Austrians.
Another French brigade successfully fords the river, assisted by the inability of the Austrian command to respond. An Austrian regiment is pushed back by the assault into the field adjacent to the church. The French have now isolated the Austrian centre from each flank and the Austrians have move one of their reserve cavalry regiments (bottom of photo) to support the gap to the left flank.
The Austrians fair better on the left flank. A French charge across the bridge is repulsed and the Austrian cavalry cleverly defend the banks of the stream forcing the French to remain in open order if they wish to attack.
Turn 4
French light cavalry threaten the Austrian right flank forcing a realignment of the line. The French infantry have deployed into line ready for a full-scale attack across the stream.
In the centre, the fight for the bridge hots up as the Austrians send in their reserve cavalry to force the French into square. An Austrian infantry regiment then assaults the square but the French hold for the present.
In the background, the French Reserve has entered the battlefield and columns of infantry and cavalry head for the bridge to exploit the foothold.
To the left of the farm the Austrians have fought back against the French crossing of the stream. One regiment is routed (top-centre) after receiving a brutal musket volley. This leaves a single regiment isolated but still giving better than they are receiving.
On the Austrian left, a series of charges and counter-charges across the bridge leaves things unchanged. The weaker Austrian irregulars are putting up an excellent tactical response to the French attack and holding the flank with unusual steadfastness.
A view of the entire battlefield at the end of Turn 4, French to the right and Austrians to the left. The French foothold over the bridge leading to the hamlet of Szabadhegy looks to be the key for a French Victory and the French have committed their reserve to exploiting it.
Turn 5
On the Austrian right the French cavalry continue to threaten to get in behind the Austrian line as their infantry begin their assault across the stream.
The Austrian musketry eventually decimates the French square pinned by the Austrian lancers, and they rout back across the stream. However, the French reserve division has force marched to the bridge to support the lone regiment holding the bridge approaches. French reserve cavalry have also swept forward together with the infantry.
On the other side of the farm more French ford the stream despite heavy artillery fire.
The Austrian insurrection cavalry continue to surprise as they hold the bridge and the banks of the stream for another turn. Grouchy is getting grumpy!
Turn 6
The Italian Division fails to make any headway on the Austrian right flank. Light cavalry have moved around to the rear of the Austrian line but the Austrians have successfully formed square. An Italian regiment retires to rally after receiving too many hits from artillery fire and a lone regiment has crossed the stream on the right of the photo.
It's been a tense fight for the foothold over the bridge with both sides suffering heavy casualties and retiring. The French numbers are slowly telling but the cramped position makes it difficult for the French to properly deploy. The Austrians have brought a reserve infantry regiment down off the hill to support.
In front of the church the French are consolidating their hold over the stream and the Austrians are taking a lot of hits. The French commander of this Division is way back out of picture attempting to rally (unsuccessfully so far) a routing regiment.
On the French right flank, Grouchy's cavalry have now taken the bridge despite continued courageous efforts by the outnumbered and out-classed Austrian insurrection cavalry.
Turn 7
The Italian infantry finally closes with the Austrian line on the French left flank. The Austrians are also threatened on their flank by the Italian cavalry but the overall Italian attack has been hampered by poor command rolls and the intervening stream.
The French have clearly taken the bridge approaching the Szabadhegy hamlet. An Austrian regiment has been trapped in square and wont last much longer.
The Austrians hang on grimly in front of the church forcing the French back across the stream. Both sides have suffered a lot of hits and if the French can organise another fresh attack the Austrians are likely to break.
A single French dragoon unit has swept the far bank of the stream clear of Austrian cavalry. The Austrians have retreated with substantial casualties. Next turn the remaining French regiments will reform with the dragoons to continue the attack.
Turn 8
The Italians on the French left flank continue to struggle to make an impact on the Austrian line.
The French attack to the left of the farm results in an Austrian brigade routing to the rear past the hamlet of Szabadhegy. The Austrians manage to rally one of them.
To the right of the farm the Austrians surge forward to secure the banks of the stream once again. The French are in disarray in the stream.
On the Austrian left flank, the Austrian cavalry set up in two lines ready for the next French charge.
Turn 9
On the Austrian right flank the Italians are repelled after a bloody melee and some lethal musket fire. But more Italian infantry advances across the stream to renew the attack.
The Austrian musket fire routs the French regiment threatening the farm and the Austrians set up a strong defensive line to face the newly arrived French reserve infantry that has deployed after crossing the stream. In the foreground Austrian lancers deploy across the entrance to Szabadhegy Hamlet.
The Austrians hold firm in front of the church as the French get stuck in the stream.
The French cavalry rout the middle of the Austrian cavalry line. The French really need the support of the rest of the Division to finish the Austrians.
Turn 10
The Italians finally hit their straps and a charge into the Austrian line routs one of the stronger Austrian regiments which was anchoring the line predominantly made up of conscript units.
A brief break-through by the French is repulsed by some savage musket fire. A French Brigade is routed but the French still have plenty of troops to pour into the gap.
In front of the church each side trades musket fire with units from both sides forced back. The Austrians have moved their artillery to the flank of the line to provide better support.
The Insurrection cavalry continue to be a thorn in the French side as another French charge is repulsed.
Turn 11
Only 1 turn to go after this one and the French try a last ditch series of attacks to try and break the Austrians.
The Italian attack on the Austrian line is met by a near perfect set of defensive fire rolls. A whole brigade is routed including a wounded commander. Despite threatening the rear of the Austrian line with a cavalry move, there is no possibility of French success on this flank.
In front of the Szabadhegy Hamlet the Austrian reserve lancers have forced the French infantry into square. French dragoons have now crossed to stream to deal with them. But the delaying tactics of the Austrian cavalry will be enough to keep the hamlet in Austrian hands.
The Austrians have also held firm around the farm despite taking heavy losses. The French will struggle to undertake any sort of attack next turn as a number of regiments scurry to the rear!
Similar to the Austrian right and centre, the troops in front of the church have got the better of the French. The difficulty in attacking across the stream has severely impacted the French attacks.
Grouchy tries a cavalry charge with dragoons and chasseurs against the Austrian lancers. The fresher Austrians get the better of the duel and the French are sent packing over the stream. The Austrian irregular cavalry have delivered a near perfect tactical victory on their flank with the late support of regular lancers from the reserve.
Turn 12
This was the last turn of the game and the French attack had fallen apart all along the front.
The main body of the Italian Division continued to retreat (off-photo). A belated charge by the French dragoons (top of photo) on an open order infantry regiment routed the Austrians off-table but the Austrian right flank had held firm right to the end.
The battle for the hamlet ended with the Austrian reserve holding on despite very heavy casualties.
The Austrians held the ground in front of the church right to the end, repulsing several assaults by the French across the stream. The French infantry suffered extraordinary casualties and ended with only 1 fit regiment.
A final charge across the bridge by the French to save some face ended in an ignominious stalemate. Half of the French cavalry on this wing never entered the battle, waiting for a break-through that never happened.
Below is a view of the entire battlefield with the Austrians to the left and the French to the right. The only significant French gains were over the middle bridge, near the farm.
This is a final view from the French side showing many French regiments retreating from the front.
Conclusion
The final result was a decisive victory for the Austrians allowing them to disengage overnight to join the main army to the north.
Austrian Total Score = 81
- Major objectives = 2 (20 points)
- Enemy units destroyed = 0 points
- Enemy hits = 61 points
French Total Score = 41
- Major objectives = 0
- Enemy units destroyed = 1 (5 points)
- Enemy hits = 36 points
The Austrians took full advantage of the strong defensive position and kept their many conscript troops in well supported positions. The poorer Austrian leadership quality never really got tested as the French couldn't get enough units into attack positions due primarily to the stream.


Another excellent battle report! The French seemed to be establishing a foothold early on that would break open the Austrian defence, but it wasn't to be. The Austrians put up a good resistance to hold off the attack. It could have gone either way, it seems, even though it was a convincing win for the Austrians in the end. Thanks for sharing the scenario.
ReplyDelete