The Weak Flank 1809 (Vom Kriege AAR)

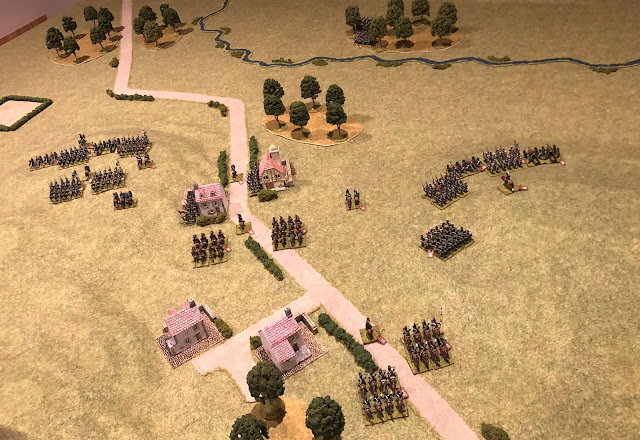
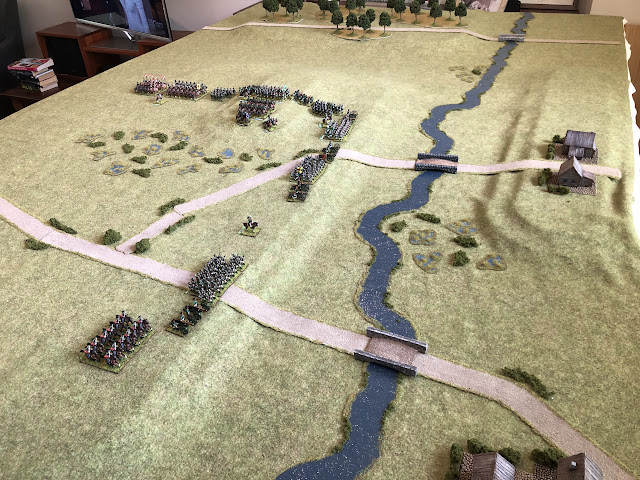
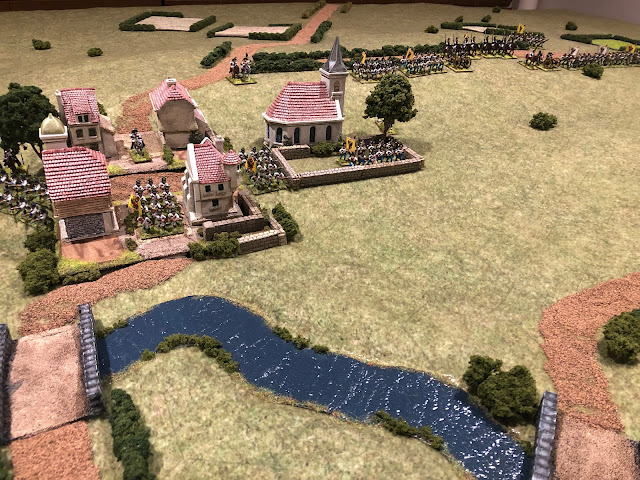
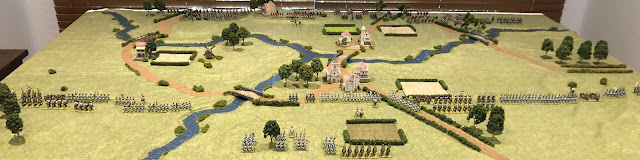
This battle is based on the 'The Weak Flank' scenario from 'Programmed Wargame Scenarios' by C.S Grant. The battle is set in 1809. The French have deployed in a defensive position on a ridge facing a threat from the Southeast. They have only thin protection on their right flank, to the West, and expect the Austrian attack to be frontal. However, the Austrians moved up on the previous evening and has a small screening force to the Southeast. During the night the Austrian main force has moved round to the West and are prepared to launch an attack on the French weak flank. The Austrians also have a 25% superiority in numbers. I am playing both sides as the programmed opponent and using my own Vom Kriege rules. The character of each commander is important in this scenario and each is rolled for. The French overall commander is cautious with a right flank infantry Division (deliberate), a left flank infantry Division (cautious), a right flank heavy cavalry Division (deliber...