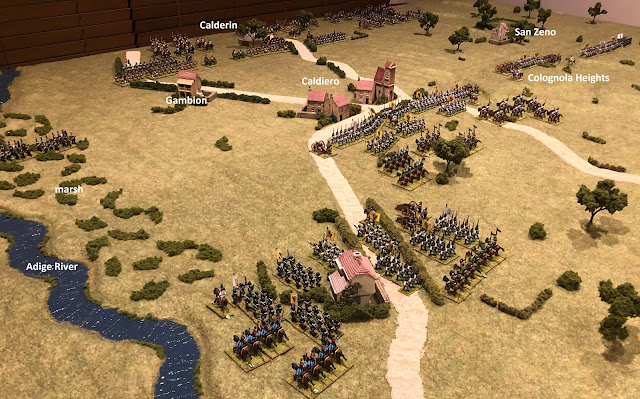
Two Sides of a River (Age of Eagles AAR)

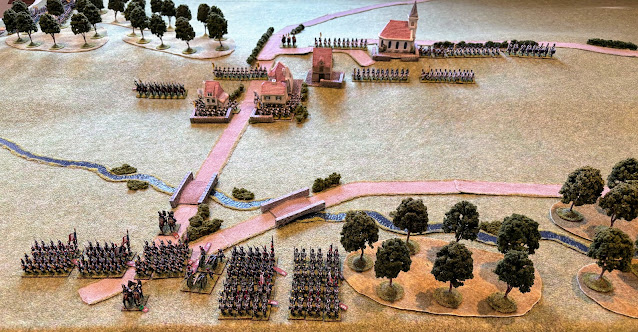
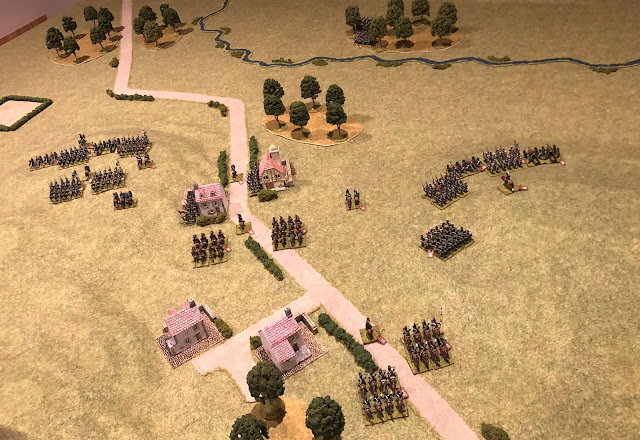
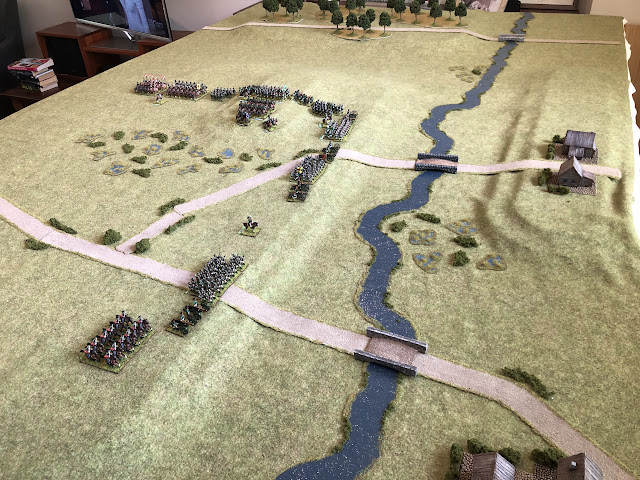
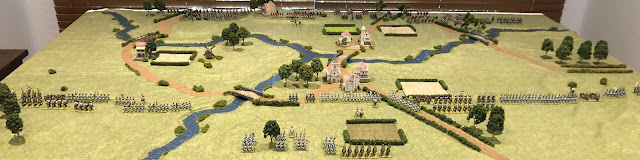
I've rerun this scenario using modified Age of Eagles rules (at Regimental scale 1:60). This battle is based on Scenario 7 from Programmed Wargame Scenarios (by C.S Grant). The game is set in 1809 with the Austrians attacking the French. The Austrians use columnar and the French impulse doctrine. An Austrian Corps (Red) is advancing down a river line but the French defender (Blue) does not know on which bank the Austrian force marches. Foolishly, the French have split their defence, spreading it over both sides of the river with only a single bridge linking them. This error is compounded by an absence of scouts to give early warning and early morning mist reducing visibility. The French are as strong as the Austrians and feel that they have little to worry about.