This is my first solo battle using Scenario 1 - Hill Line Defence from Programmed Wargame Scenarios (Charles S. Grant). I am also using a scaled down version of Age of Eagles where 1"=60 yards and each infantry stand=180 men.
Terrain Setup
Rolling for the terrain setup gave the following left, centre and right sections.
The table setup is shown above with the hill line at the top half of the table.
Forces
Based on my available forces, I've set up the following guide for Red and Blue forces:
Roll 1d10 for period:
- 1-3 1805 French (Red) v Austrian (Blue)
- 4-5 1807 French (Red) v Russian (Blue)
- 6-7 1809 French (Red) v Austrian (Blue)
- 8-10 1812 French (Red) v Russian (Blue)
A roll of 6 gives 1809 French (Red) versus 1809 Austrian (Blue). Therefore the Austrians are defending the hill line. Their mission is to hold the hill line while the French mission is to capture the hill line.
Austrian Forces
The Austrians roll Force List 8:
- 4 units line infantry
- 2 units light/elite infantry
- 1 unit medium cavalry
- 1 unit light cavalry
- 1 artillery battery
I've converted these to equivalent AoE units giving:
- 7 units line infantry (R 6/5/3) - columnar
- 2 units jagers (E 6/4/2 sk) - columnar
- 2 units grenadiers (E 6/4/2 sk) - columnar
- 2 units dragoons (E 4/3/2)
- 2 units hussars (E 4/3/2)
- 3 light artillery batteries
These units are organised into a Division of 4 Brigades as follows.
Brigade 1: 2 units grenadiers
Brigade 2: 3 units line infantry, 1 light artillery
Brigade 3: 2 units line infantry, 1 jager, 2 units dragoons, 1 light artillery
Brigade 4: 2 units line infantry, 1 jager, 2 units hussars, 1 light artillery
Brigade 3 is assigned to the right flank defence, Brigade 4 to the left flank. Brigade 2 is assigned to the centre and Brigade 1 is the reserve.
French Forces
The French roll Force list 17:
- 5 units line infantry
- 1 unit light/elite infantry
- 1 unit heavy cavalry
- 1 unit medium cavalry
- 1 unit light cavalry
- 2 batteries
The conversion to AoE units is:
- 6 units French line (R 6/5/3 sk) - impulse
- 2 units Bavarian line (R 6/5/3) - columnar
- 2 units French guard (E 6/4/2 sk) - impulse
- 2 units cuirassiers (E 4/3/2)
- 2 units chevauxlegers (E 4/3/2)
- 2 units hussars (E 4/3/2)
- 1 light, 2 heavy, 2 horse batteries
These are organised into an Infantry Division of 3 Brigades and a Cavalry Division of 3 Brigades.
Infantry Division
Brigade 1: 2 units guard
Brigade 2: 4 units French line, 2 heavy batteries
Brigade 3: 2 units French line, 2 units Bavarian line, 1 light battery
Cavalry Division
Brigade 1: 2 units cuirassiers, 1 horse battery
Brigade 2: 2 units Bavarian chevauxlegers, 1 horse battery
The French direction of attack is rolled as 2 - Attack left and front with force ratio left (40%), centre (40%) and right (20%).
The 3 cavalry Brigades are split between the left, centre and right flanks. Brigade 2 is in the centre, Brigade 3 on the left flank and Brigade 1 on the right flank.
Austrian Plan
A roll of 1 means that the Austrians will hold the entire feature well forward and will give NO ground, and he will NOT move off the contour, even to follow up, under any circumstances.
French Plan
French will attack on the left and centre. The right flank rolls a 6 which means this flank is drawn towards the main attack in the centre and left.
The programmed responses for each side include options for specific situations as they arise in the game.
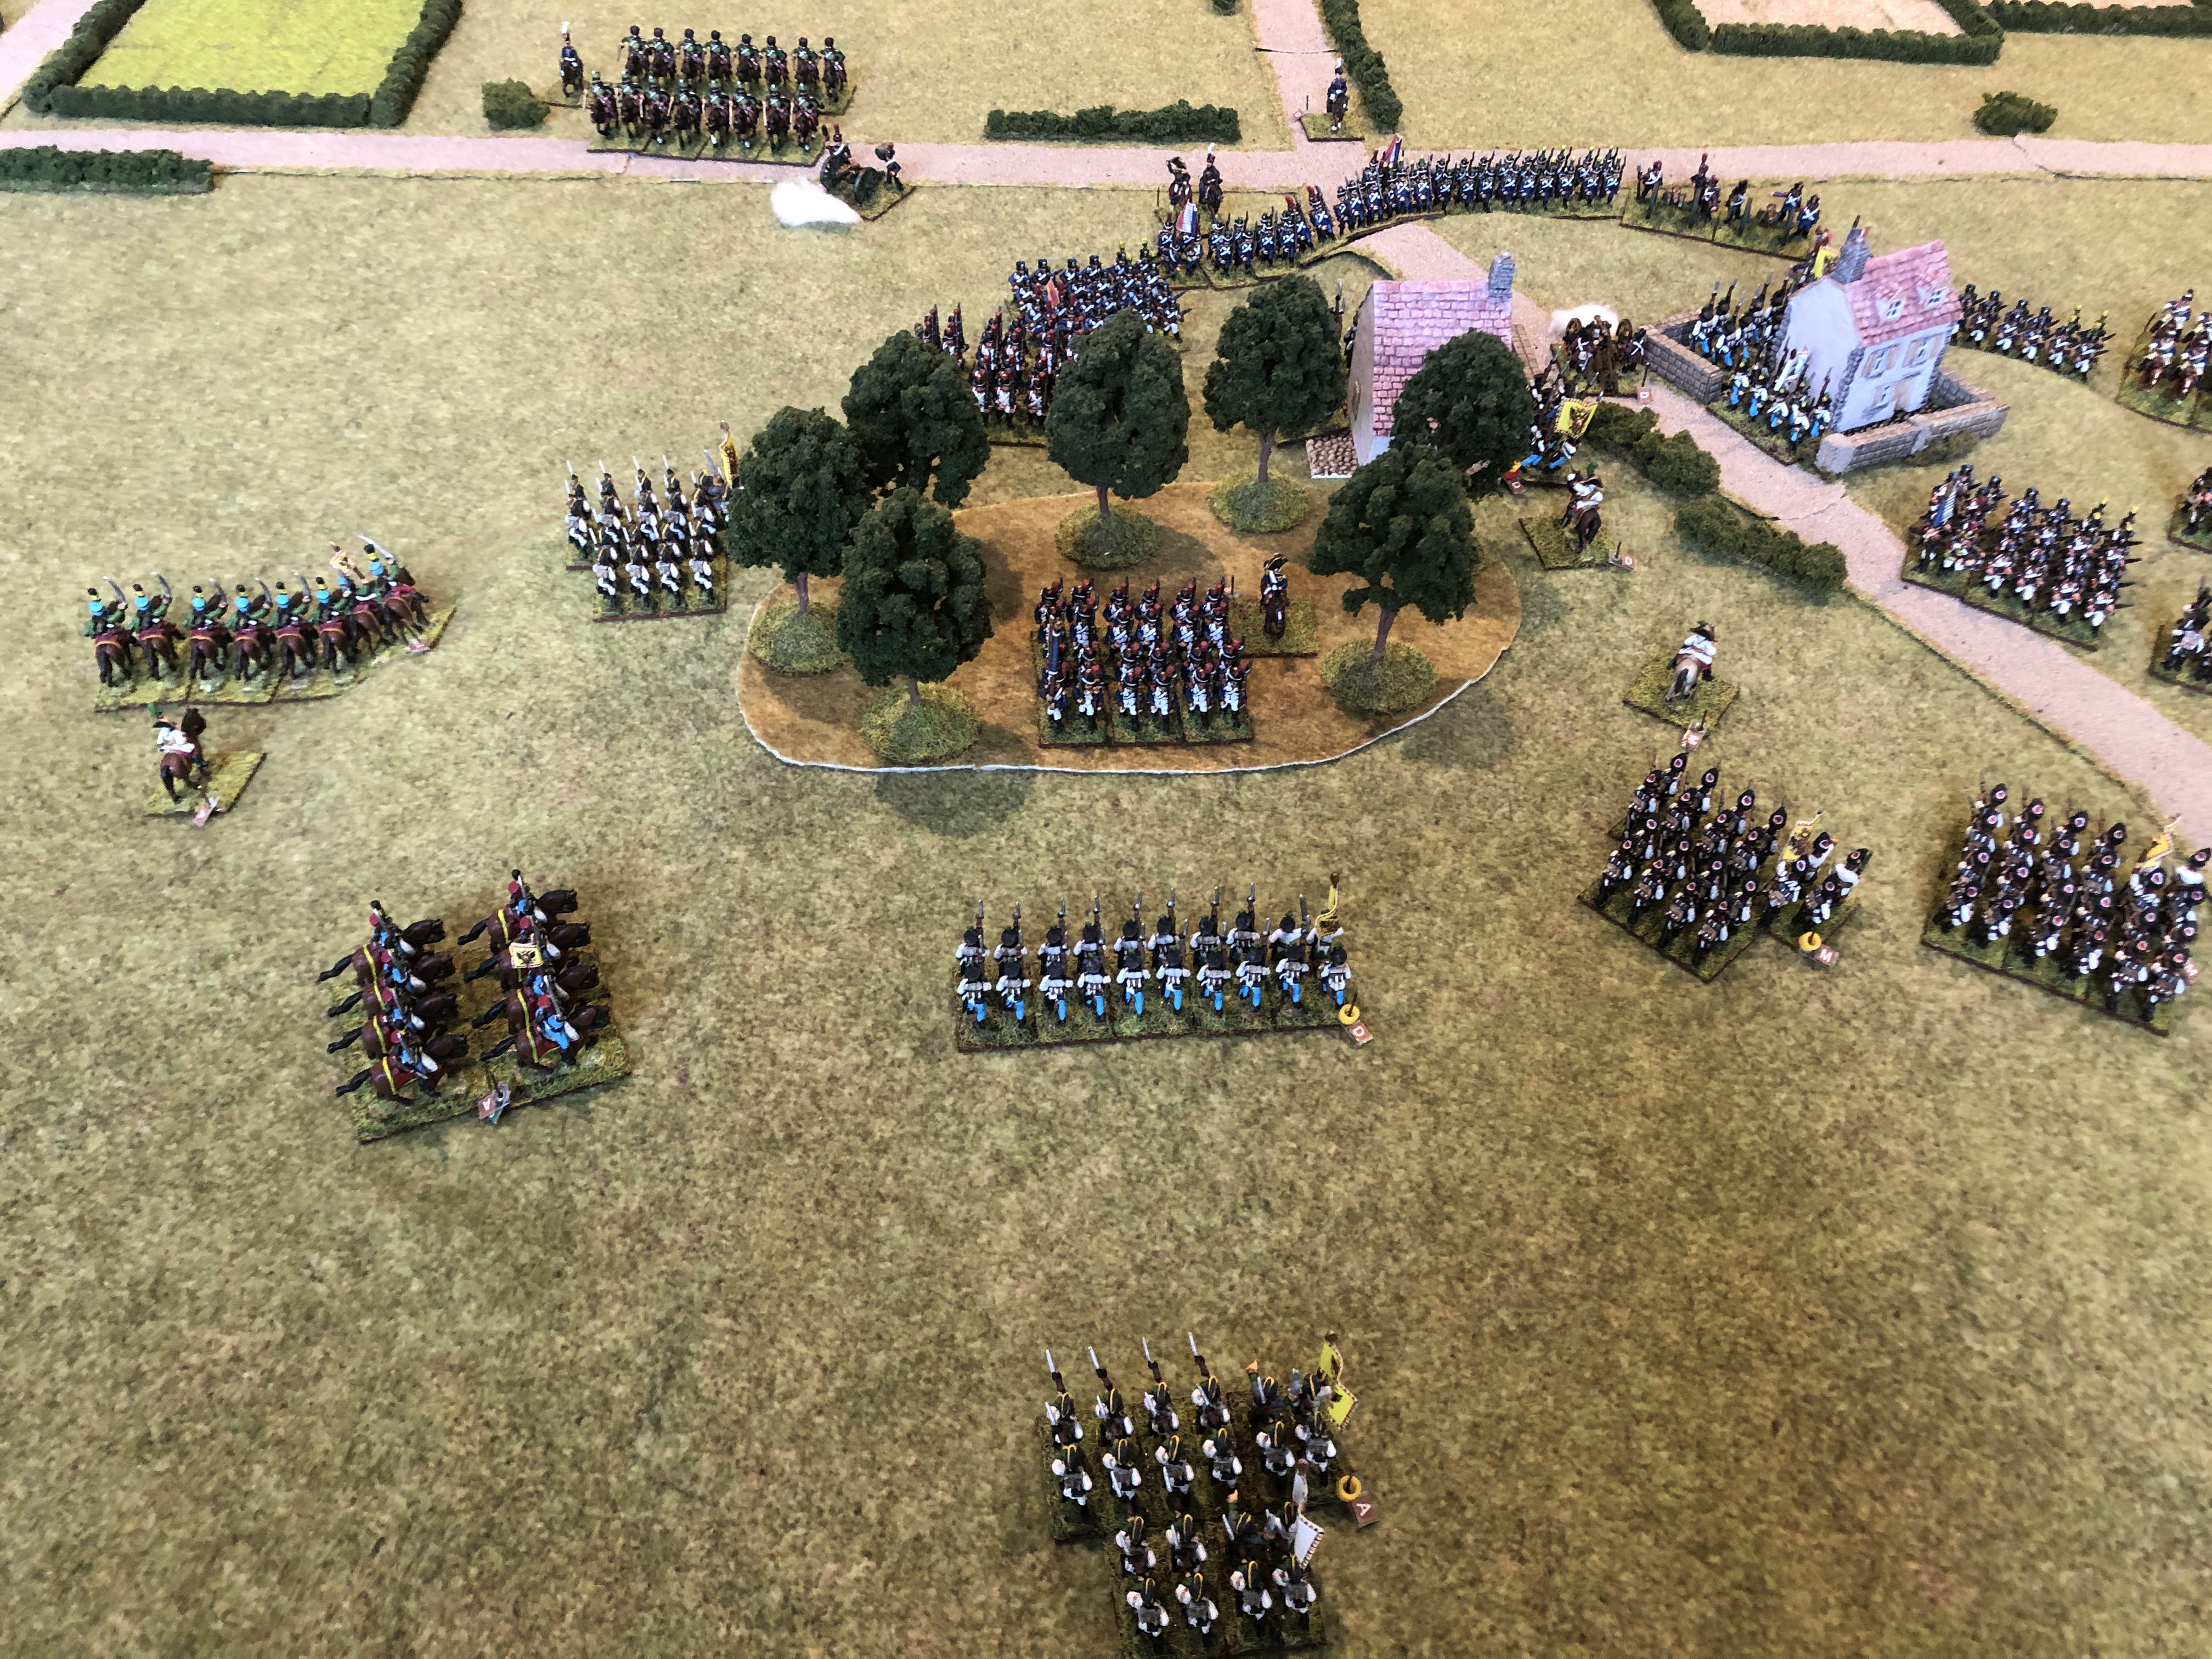
Table setup
Game setup above with Austrians defending the hill line at top of photo and the French in three groups across bottom of photo ready to attack.
The Austrians have clear orders to hold the hill line at all cost. The French will advance on the left and centre bringing up their superior artillery numbers to weaken the Austrian line before attacking. The bvarian cavalry on the left will threaten the Austrian right flank. The French right flank will move diagonally towards the centre.
Turn 1
The French win the initiative and advance their full move towards the Austrian left and centre. Accurate Austrian battery fire hits and disorders the Bavarian battery on the left flank and disorders the cuirassiers in the centre.
The Austrian left flank was hoping to re-orient itself to match the French right flank move to the centre but failed to activate. The remainder of the Austrian troops just sit and wait.
Turn 2
The Austrians win the initiative but force the French to go first. Some poor activation rolls see the French left flank pause to form into line with cavalry and horse artillery advancing on the far left flank.
The Austrian artillery is ineffective while the French horse artillery disorders the dragoons on the ridge.
The French continue to advance against the Austrian centre and the Austrian right flank shifts to cover the gap in the hill line.
Turn 3
The Austrians win the initiative again and this time decide to go first to rally a couple of units before the French attack.
The Bavarian chevauxlegers melee the Austrian dragoons who countercharged off the ridge. The Bavarians pushed the Austrians back to the hill line.
Austrian artillery fire claims a hit and disorders the lead French column. French artillery fire then disorders the Austrian line opposite the French columns.
In the centre the French deploy into line and await their artillery to soften up the village on the ridge. The guard continues to advance in column against the Austrian line which has been disordered by artillery fire.
Turn 4
The French win the initiative and now effectively get two moves in a row.
On the French left flank the Bavarian chevauxleger continue to push the Austrian dragoons back from the ridge. A French infantry regiment also gains the ridge top.
The Austrians reform their line back from the ridge and a regiment of grenadiers moves up to support the line near where the French threaten to break it.
The Austrian programmed opponent rolls at this point when the French have breached the hill line. The Austrian left flank now moves across the support the centre.
The French attack in the centre stalls in the face of excellent Austrian musket and artillery fire.
Turn 5
The Austrians win the initiative and again take the opportunity to rally their troops.
The Bavarian chevauxlegers reach the hill line and charge the Austrians dragoons who retreat from contact.
Bavarian infantry also breach the ridge and force back the Austrian line behind the supporting Jagers.
In the centre the Austrian left flank has rapidly moved across to support. The Hungarian regiment on the ridge beats back a charge by the French Guard and the Austrians hold firm in the village.
Turn 6
The Austrians retain the initiative.
The bavarian cavalry shatters one regiment of Austrian dragoons and on breakthrough pushes back the second dragoon regiment.
In the centre of the photo the Austrian jagers charge the Bavarian infantry line but are seen of with some serious casualties. The two infantry lines near the village continue to trade volleys and wear each other down.
View from behind the Austrian centre. This time the second French guard regiment takes the ridge and on breakthrough pushes the supporting Austrians back as well.
Turn 7
The Austrians continue to win the initiative denying the French 2 turns in a row.
French cavalry sweep around the Austrian right flank but the Austrian dragoons are holding firm at the moment. French cuirassiers join the attack which may swing things.
The infantry trade musket fire but the French column nearest the village wins a key melee against the Austrian grenadiers.
The French guard win the melee in the woods and also the breakthrough charge against the supporting infantry sending both regiments back. The second French guard unit and another infantry regiment followup into the gap that has been created. Austrian hussars move to help fill the breach.
The Austrians still hold the village but the noose is tightening.
Turn 8
The French win the initiative and now effectively get 2 turns in a row.
On the Austrian right flank the Bavarian infantry and cavalry are pushing the Austrians back with the Austrian infantry taking heavy casualties.
In the centre the Austrians are pushed out of one of the village buildings and then retreat from the other building before they get surrounded. The French guard have taken the woods but they are now exposed until the remaining French infantry can move up.
Turn 9
The Austrians regain the initiative and this allows them some leway to rally.
The French cuirassiers wreak havock on the Austrian right flank and more cuirassiers are on the way.
Good activation rolls by the Austrians and poor rolls by the French means that the Austrian centre steadies. A rash cavalry charge against the French guards ended in a disaster for the hussars as the guard formed square and the resultant melee went very bad for the Austrian cavalry (bottom of photo).
The French hussars now make a move against the lone Austrian battery.
It's probably all over for the Austrians with the French in possession of most of the hill line and the village and the Austrian troops with heavy casualties.
Turn 10
French win the initiative.
The Austrian right flank is virtually spent and overwhelming French cavalry forces are sweeping around the rear.
The Austrians attempt a charge with two regiments against the French guard in the woods but are soundly defeated. The Austrian hussars also get the better of a melee with their French counterparts.
Turn 11
I've declared this a victory for the French with the whole hill line and village taken and the Austrians having suffered heavy casualties.


Comments
Post a Comment