Battle of Gorodeczna 1812 (Age of Eagles)
An after action report on the Battle of Gordeczna 1812 using Age of Eagles rules and this scenario.
The Austrians mut drive Tormassov's Russian army from the field. Take care to minimize any losses to the Austrian corps. The Russians must conduct an orderly rear-guard action. Inflict maximum casualties while trading space for time.
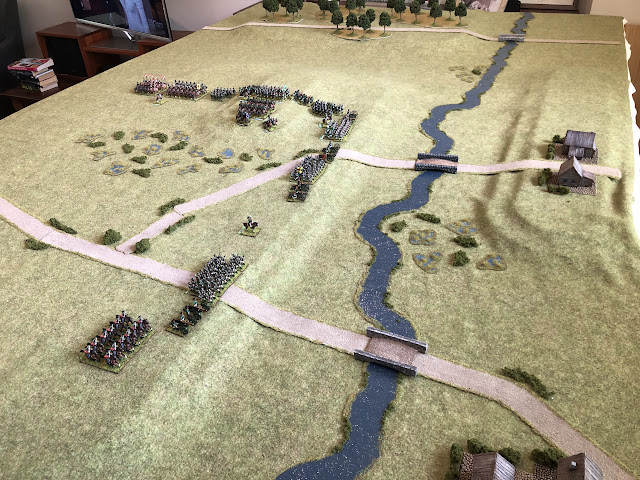
Tormassov's Russians are setup on the high ground behind the river. Gorodenzca is at bottom right and Paddubno at middle right. There are three crossings of the river over which the Austrian/Saxon army will attack.
Turn 1
Le Coq's Division from Reynier's Corps anters the battlefield while von Funck's Division fails it's reserve movement and remains off-table. The Russians have moved slightly forward on the hill.Turn 2
von Funck's Division again fails it's reserve movement and remains off-table. Le Coq's Division moves down the road between the woods while Zechmeister' Cavalry Division enters through the woods.
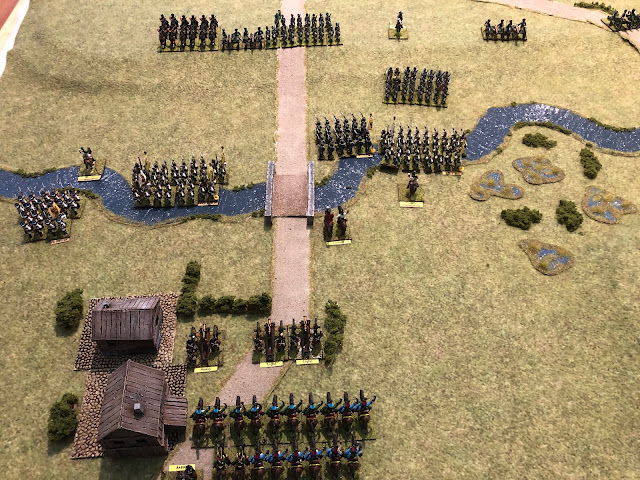
Reynier's Corps is now all on the tabel and begins setting up opposite the Russians. Seigenthal's Division enters at the village of Paddubno (top left) but without artillery support they await the attack of Reynier's Corps.Turn 3
The Austrian's unsuccessfuly roll for the arrival of the remainder of Frimont's Corps at Gorodeczna.
Frimont's Corps rolls successfuly to enter the battle and setup next to Gorodeczna.
Turn 4
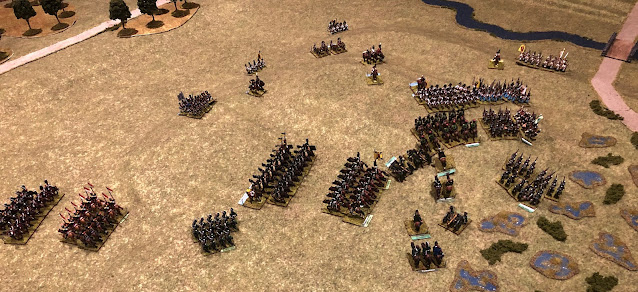
Reynier's Corps is nearly ready for the assault. A Saxon chevauleger Division advances to outflank the Russian left flank and is charged by Russian uhlans. The Austrian cavalry win the melee and push back the Russians.Turn 5
On the Russian left flank both sides rally their cavalry from the previous turn's melee. Reynier advances with the Saxons although one brigade fails its reserve movement is is still to deploy (off screen at top).The Russians move an infantry brigade along the hill line to face the main attack.
Turn 6
On the Austrian left flank the Austrians cross the river and become disordered. A Russian brigade attacks one of the disordered brigades and pushes it back to the river.Turn 7
The Austrian attack goes in on the Russian left flank. Russian fire beats back the first wave of assault with one brigade pushed back across the river.Turn 8
The Austrians press their attack on the Russian right flank and the Russians pull back from the ridge line in the face of the superior Austrian numbers.However, the Saxon infantry attack is decimated by Russian fire with one brigade virtually destroyed and another suffering a number of hits.
Turn 9
The Russians are pushed back further on their right flank as the Austrian numbers start to tell.The respective cavalry brigades melee again with the Russians pushing back the Saxons.
With 1 turn to go the Austrians are pushing hard for a victory which appeared non-existant up to this turn.
Turn 10
This is the final turn of the scenario and the Russians are pulling back on the right flank.Given how tight the situation is, I'm giving the Austrians another couple of turns to try and trap the Russians. Given it's nearly dark, all shooting is limited to 4".
Turn 11
The Austrian noose is tightening but the Russians manage to hold off the Austrian and Saxon attacks as they withdraw in a reasonably orderly way.Turn 12
The Russians beat off the final Austrian/Saxon attacks and look like they will continue their orderly withdrawal.
The result of the battle was a convincing victory for the Russians with 15 VP versus 6 VP. This was despite the relatively early arrival of Frimont's Austrian Corps on turn 4. The Saxons suffered heavy losses in their first assault which set them back and the respective cavalry brigades cancelled each other out. It was probably the Russian artillery that proved to be the difference.


Comments
Post a Comment