An after action report on the Battle of Mincio River 1814 using Age of Eagles rules and this scenario.
The French must trap and destroy the Austrian army along the banks of the Mincio River while the Austrians are to locate and engage the French rearguard and keep control of all roads leading east to ensure lines of communication are safe.
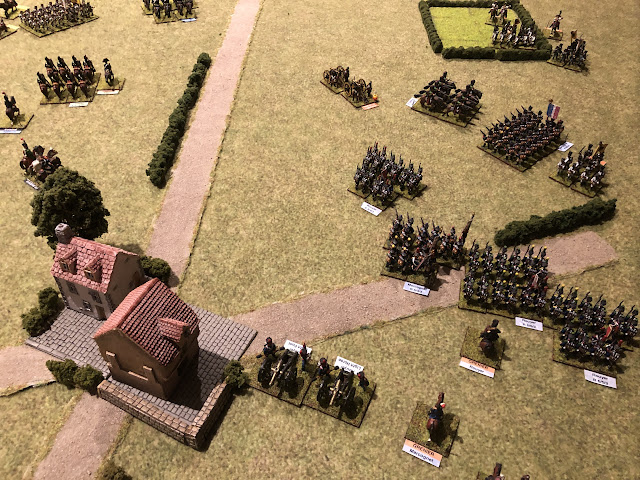
Table setup with the Austrians in a central position and the main French force to the right of the photo and a minor force at the bottom left.
Turn 1
The first two turns have fog which limits visibility to 2".
Fressinet's French Division moves up to the west of the town of Monzambano (top-left). The Austrian artillery and cavalry from Radivojevich's Division re-cross the Mincio River to support the Austrians now meeting the main French attack. Pflacher's Division also moves south through Valeggio.
On the Austrian left the French advance against Roverbella township.
Turn 2
On the right flank around Roverbella the French take advantage of the last turn of fog to engage the Austrians who are pushed back. Meanwhile the French cavalry move rapidly around the left of Roverbella to surprise the Austrians.
On the other flank the Austrian lancers move to counter the French cavalry threat. Pflacher's Division fails to move and is stuck in Valeggio.
Fressinet's French Division moves up to engage the Radivojevich's infantry.
Turn 3
On the flank over the Mincio River, the French attack and push back an Austrian brigade and their artillery.
In the centre the Austrians grenadiers repell an assault by two French brigades, and the respective Dragoon brigades charge again with no discernible advantage to either side.
On the French right flank around Roverbella the French attack goes in and an Austrian brigade is effectively destroyed. The French will be looking to follow up a distinct numerical advantage next turn.
The French hussars (top-right of photo) suffer casualties as they attempt to outflank the Austrian Heavy Artillery.
Turn 4
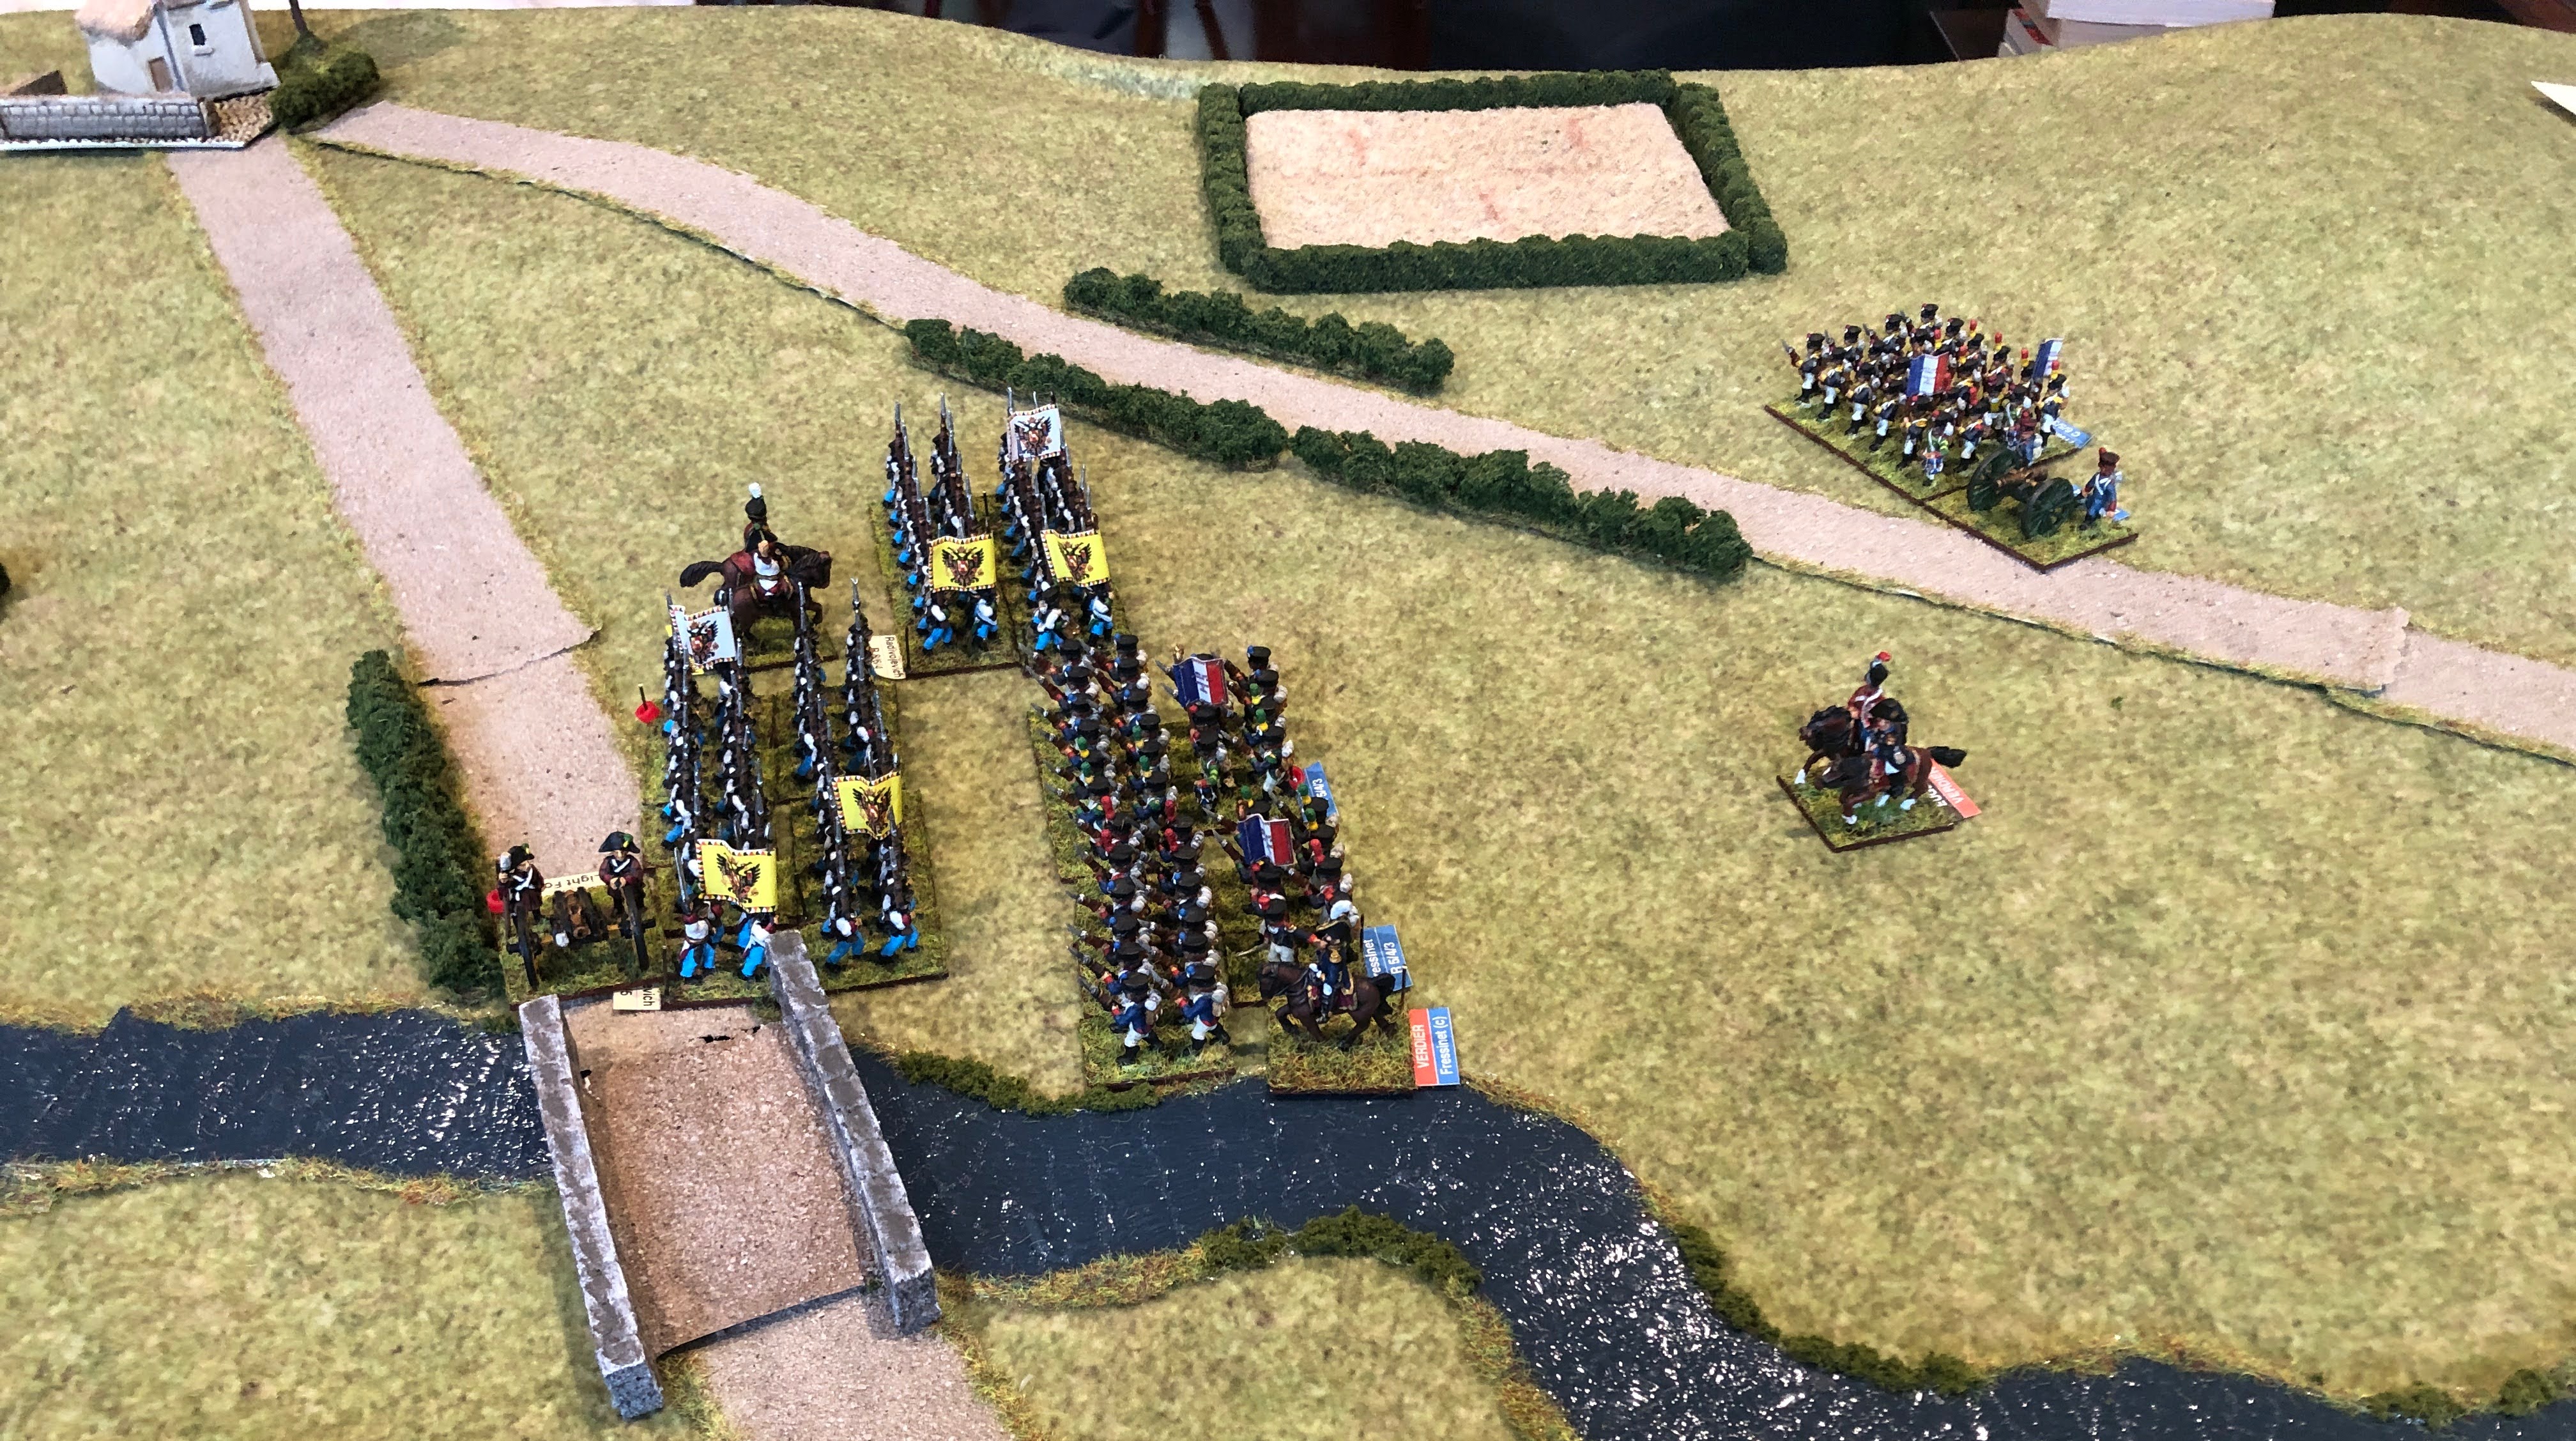
West of the Mincio River the French have hemmed in the Austrians against the bridge crossing as the brigade from Gioto arrives (bottom-right).
In the centre, Quesnel's French brigade pulls back after the heavy casulaties they took in their assault. The melee of the respective dragoon brigades ends without conclusion. However, the large Austrian lancer brigades charge against the French chasseurs ends in disaster as they are shattered and retreat a full move with a 2 stand loss (top-left).
The infantry from Pflacher's Division arrive to bolster the centre position.
The battle around Roverbella is going badly for the Austrians. A second Infantry brigade is effectively destroyed. The threat of the French hussars means that the Austrian heavy artillery has to limber up and retreat. The remaining Austrian troops attempt to retire.
Turn 5
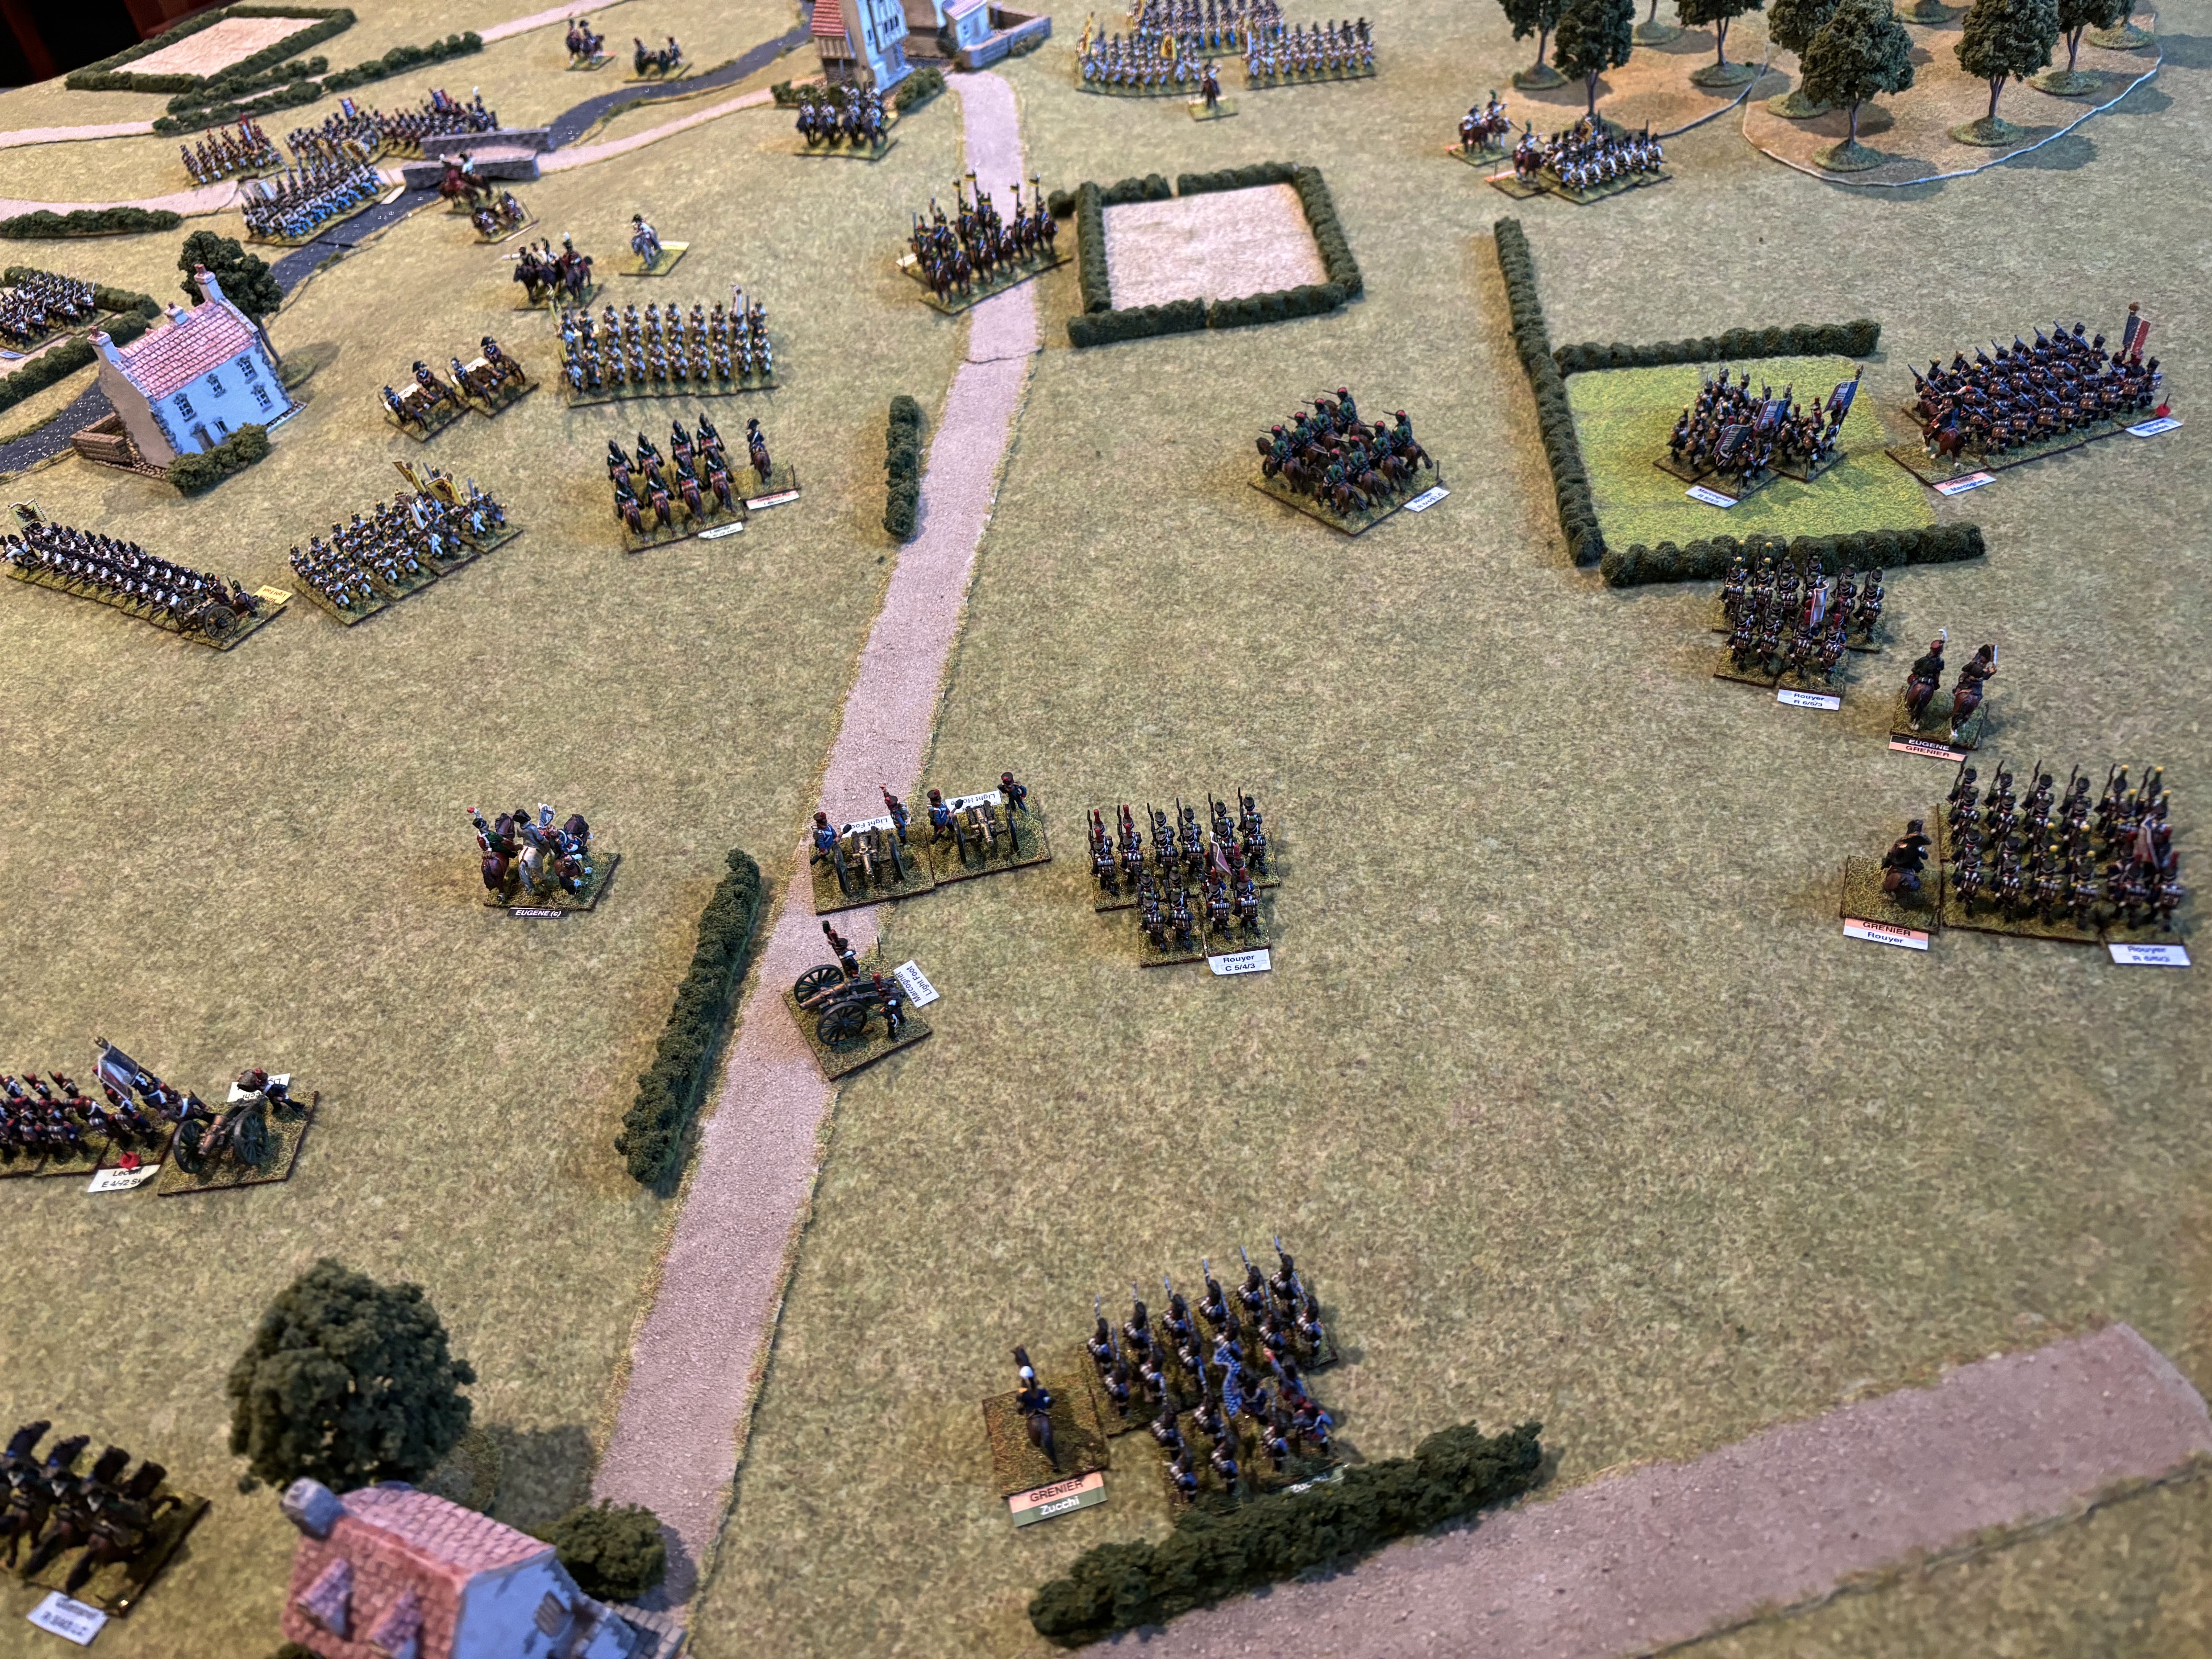
The Austrians remain boxed in at the bridgehead. But help is on the way as Fenner's Austrian Division arrives on the table (top of photo).
The Austrians consolidate in the centre. They have more artillery and more infantry.
The Austrian rout continues at Roverbella. The heavy artillery is destroyed and three remaining understrength brigades and the light artillery retreat to try to form a line of defense.
Turn 6
The Austrians fight back out of their bridgehead and keep the French at bay.
Exceptional rolling by the Austrians may be the turning point the Austrians were looking for. The Austrian dragoons (centre) shatter the French hussars routing them (bottom of photo). The Austrian infantry on the left flank (right of photo) hold firm despite losing their artillery. Fenner's Division (at top of photo) is fast approaching and these 3 large fresh brigades will be pivotal to the Austrians trying to regain their supply lines to the right of photo.
Turn 7
Penned against the Mincio River, one of the Austrian brigades is forced back and because it was disordered the whole brigade was routed off the table as the bridge was the only option to retreat. That leaves a lone Austrian brigade against 4 smaller French brigades.
A successful turn for the French as the French dragoons shattered their Austrian equivalents which retreated to Valeggio (top photo). The remaining Austrian infantry brigade from Heldenfeld's Division is shattered and retreats back to the advanceing troops of Fenner's Division. The French hold two of the key objectives, Gioto and the road to the west )right of photo) and will need to reform themselves to meet the coming Austrian counter-attack led by Fenner's fresh Division.
The Austrians have now lost just over 30% casualties so will incur a -1 modifier on march rolls.
Turn 8
The Austrian reinforcements from Fenner's Division arrive to bolster the front ready for a last-ditched attempt to take back the road leading east (behind the main French position).
The French dragoons are stuck disorder by Austrian artillery fire in the centre of the pic.
The lone Austrian brigade is hemmed in by French musket and artillery fire and suffers as a result. There is no way they can form march column and escape without being caught in the process, so they must stand and hope.
Turn 9
The final Austrian brigade at the bridgehead succumbs to the French assault and routs from the table. An Austrian brigade is dispatched to protect the bridge crossing and stop the French threatening the rear of the Austrian position.
Pambolini's French Division enters the table at Monzambano (top of photo).
The French dragoons see off the Austrian lancers and then push back the weakened Austrian dragoons. (centre of photo).
The Austrian infantry is slow to form up on the Austrian left flank as the French await the inevitable assault.
Turn 10
The Autrians now have 40% casualties and their march rolls are now affected by a -2 modifier.
The French have crossed the bridge and further French reinforcements have nearly reached Monzambano.
The French launch a succesful attack on the Autrian right flank near Pozzolo (left of photo) while the Austrians fail to initiate any attack to break out of their position towards the road on their left flank.
It looks all over bar the shouting but I'll give the Austrians a couple more turns to see if they can escape.
Turn 11
The Austrian breakout attempt on their left flank fails and the French encirclement closes in.
Turn 12
The Austrians partially succeed in their attack on the French right flank, but they have less than 50% of their troops left and the Austrians finally surrender. It's a major victory for the French who have suffered less than 10% casualties and taken all the objectives.


 West of the Mincio River the French have hemmed in the Austrians against the bridge crossing as the brigade from Gioto arrives (bottom-right).
 In the centre, Quesnel's French brigade pulls back after the heavy casulaties they took in their assault. The melee of the respective dragoon brigades ends without conclusion. However, the large Austrian lancer brigades charge against the French chasseurs ends in disaster as they are shattered and retreat a full move with a 2 stand loss (top-left).
 The battle around Roverbella is going badly for the Austrians. A second Infantry brigade is effectively destroyed. The threat of the French hussars means that the Austrian heavy artillery has to limber up and retreat. The remaining Austrian troops attempt to retire.
 The Austrians remain boxed in at the bridgehead. But help is on the way as Fenner's Austrian Division arrives on the table (top of photo).
 The Austrians consolidate in the centre. They have more artillery and more infantry.


 The Austrian reinforcements from Fenner's Division arrive to bolster the front ready for a last-ditched attempt to take back the road leading east (behind the main French position).


Comments
Post a Comment